
Junk Journal for Beginners: How to Start With What You Already Have
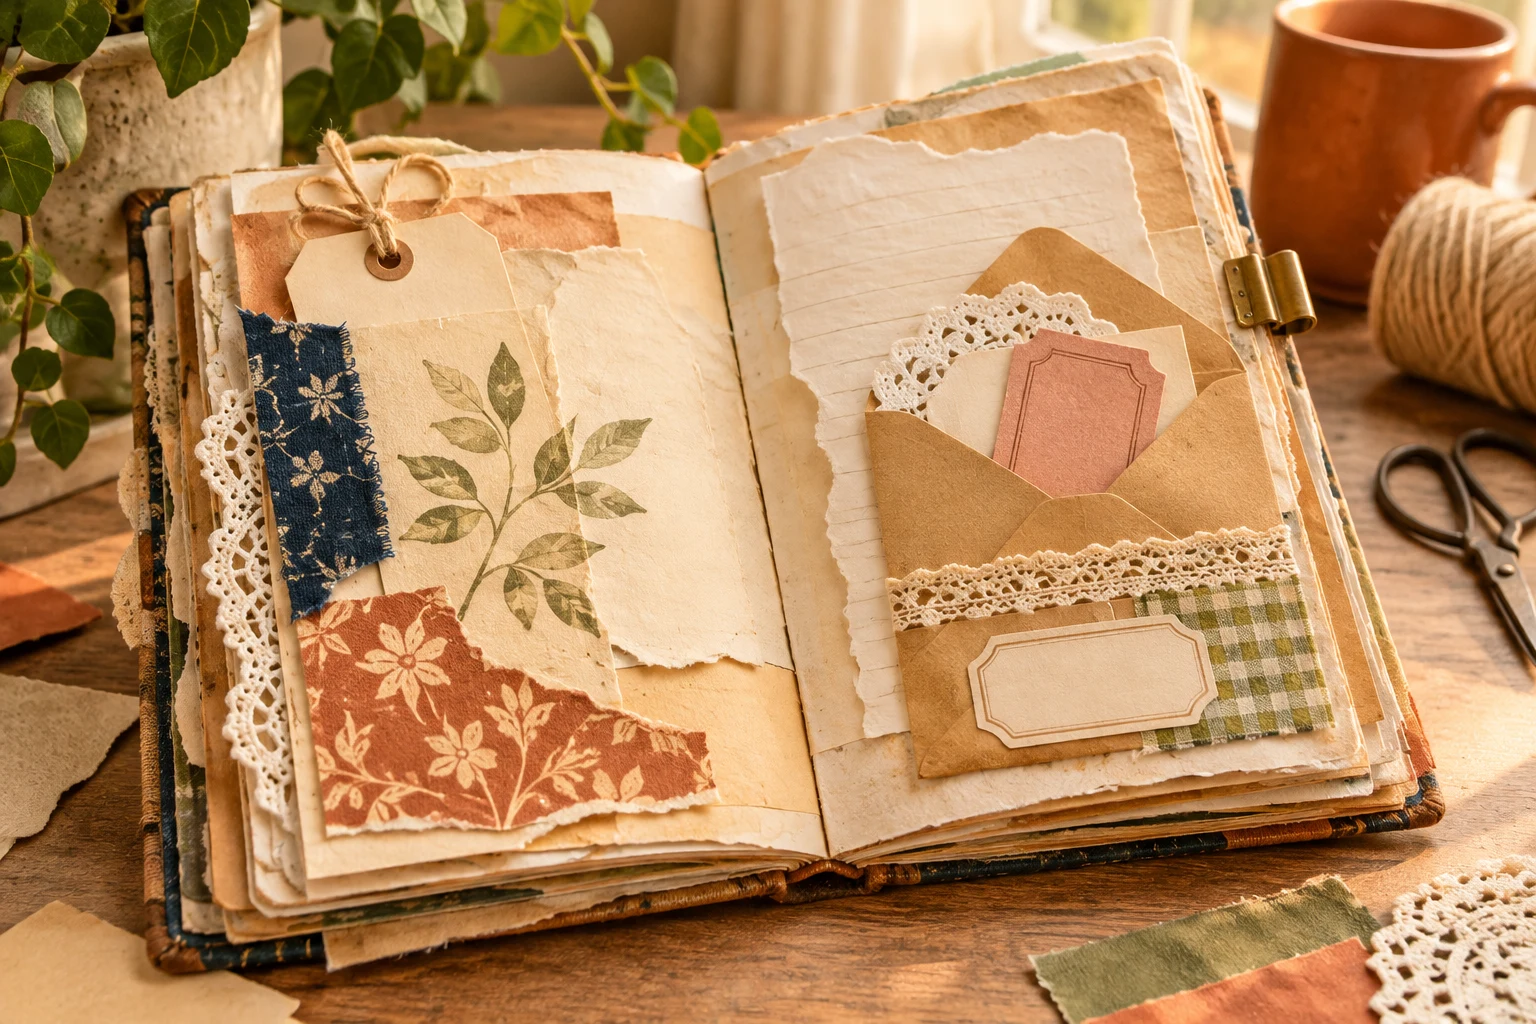
A junk journal is a handmade book filled with everyday paper scraps, memories, notes, and found materials. To start a junk journal, gather a few sheets of paper, an envelope, and a cover from something you already own. Fold the pages, bind them simply, and fill one page at a time. No craft-store trip is needed.
If you have an old envelope, a ticket, a grocery bag, or a fabric offcut, you already have a place to begin. This guide covers the supplies, simple binding methods, 20 page ideas, and a free printable starter pack. The aim is a book you enjoy using, not one that looks perfect in photographs.
What Is a Junk Journal?
A junk journal is a personal, handmade journal that reuses paper and other small materials that might otherwise be discarded. It can hold writing, collages, lists, photographs, sketches, and keepsakes. Some junk journals are carefully decorated; others are deliberately rough and simple.
The word junk describes the reused materials, not the value of the finished book. A receipt from a day out or a piece of patterned packaging can become a small reminder of an ordinary moment. You can make a journal just for creativity, use it as a memory book, or combine both.
You also do not have to fill every page with layers. A blank page with one ticket and a sentence is a complete junk journal page.
How Is a Junk Journal Different From a Scrapbook or Art Journal?
A junk journal is usually more flexible about materials and structure than a scrapbook, while an art journal often centers on experimenting with art techniques. The categories overlap: the same book can contain memories, artwork, and recycled papers.
| Feature | Junk journal | Scrapbook | Art journal |
|---|---|---|---|
| Main purpose | Collect scraps, thoughts, and small memories | Preserve photos and events | Explore visual ideas and techniques |
| Typical materials | Envelopes, old pages, packaging, tickets | Photos, captions, decorative paper | Paint, ink, markers, mixed media |
| Page structure | Often handmade and irregular | Often album-based | Often a bound sketchbook or notebook |
| Writing | Optional, from labels to longer notes | Usually captions or stories | Optional |
| Beginner cost | Can start with household leftovers | Depends on the album and supplies | Depends on preferred media |
There is no rule that says a scrapbook must be polished or an art journal must use expensive paints. Choose the label that helps you begin, then make the pages your own.
What Supplies Do You Need to Start a Junk Journal?
You need paper for the pages, something for a cover, and a way to hold everything together. The easiest beginner supplies are things already at home.
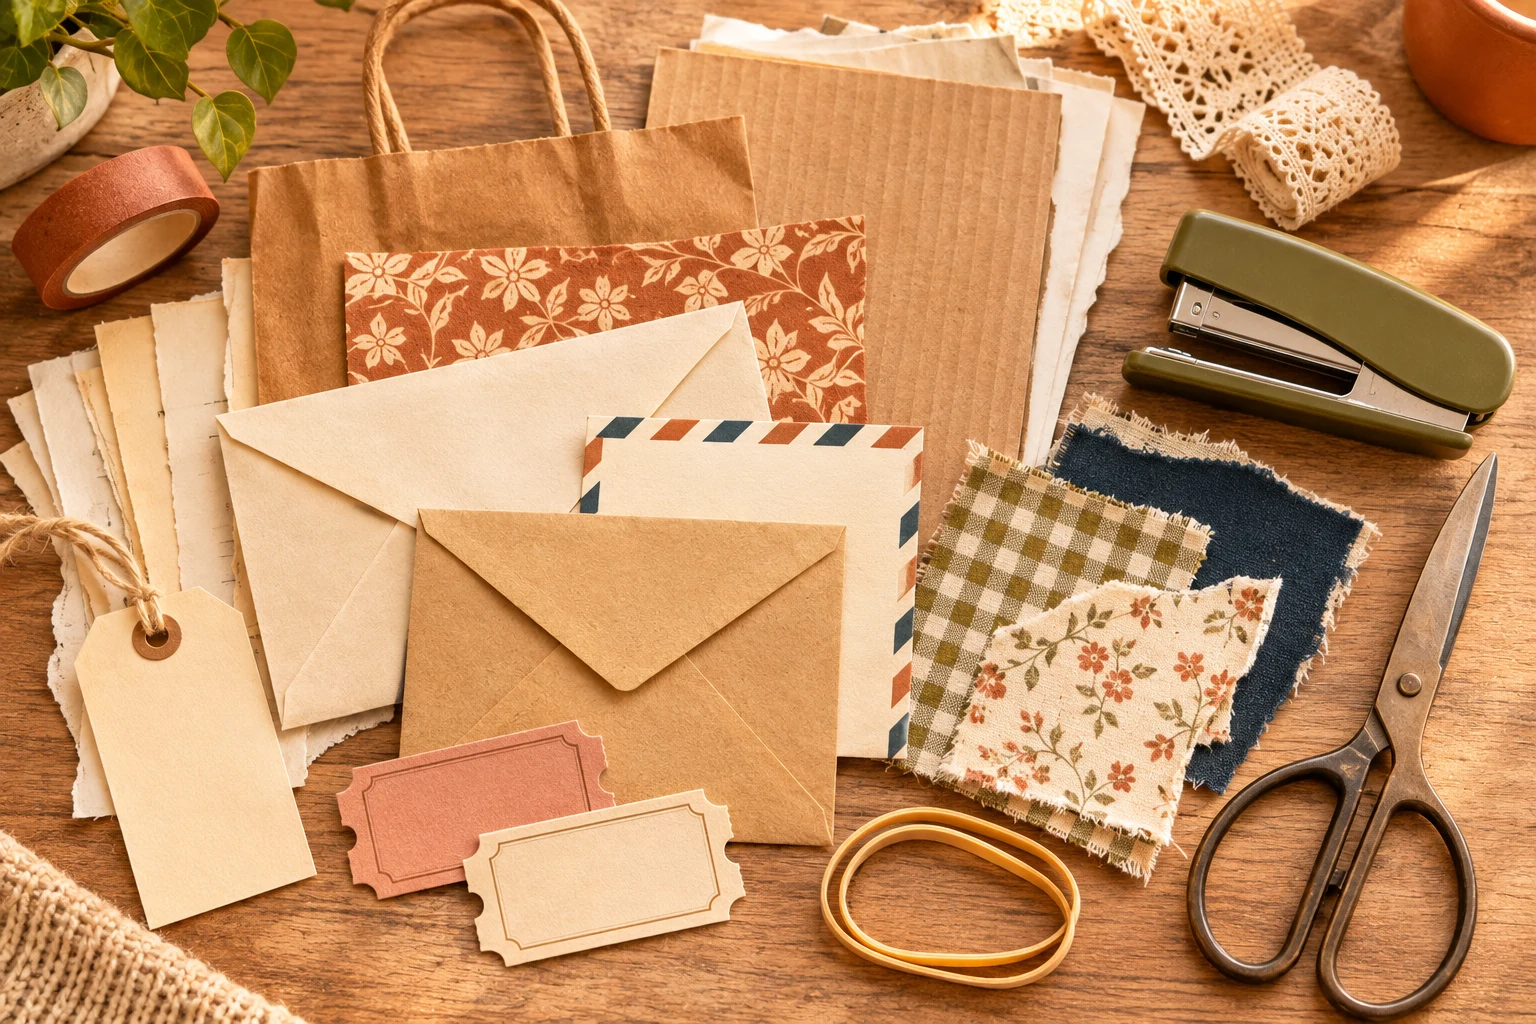
Look around the house first:
- Old envelopes, unwanted mail with personal details removed, and paper bags
- Clean food packaging, cardboard sleeves, or a cereal-box panel for a cover
- One-sided printed paper, notebook leftovers, or old book pages you own and can reuse
- Tickets, gift tags, wrapping-paper offcuts, and receipts that are safe to keep
- Small fabric scraps, ribbon remnants, or paper doilies
- A pen or pencil, scissors, and glue or tape if available
- Thread and a needle, a stapler, binder rings, or an elastic band for binding
Optional extras: a glue stick, hole punch, washi tape, corner rounder, stamps, or decorative paper. They can be convenient, but none is required for a first journal. If you do not have glue, start with folded pockets and paper tucked inside them.
You do not need to buy anything to try junk journaling. Keep materials dry and reasonably clean; avoid sharp staples, moldy paper, and anything carrying private information you would not want someone else to see.
What can you use instead of special junk journal paper?
Ordinary printer paper, an old notebook, brown packing paper, and paper bags all work. Mix thinner and thicker sheets, but avoid putting too many bulky pieces in the same bundle. If a page tears easily, glue it to a stronger backing sheet or use it as a small decorative piece instead.
How Do You Make a Junk Journal?
To make a junk journal, start with a cover you already own, fold a few sheets into small bundles, secure them, and add a pocket for paper memories. A first journal can be small, simple, and unfinished. You do not need special supplies or a plan for every page.
1. Choose a cover you already have
Use a clean cereal box, a sturdy mailing folder, an old greeting card, or a notebook cover. For an easy pocket-size journal, fold 8.5 × 11-inch printer paper in half to make pages about 5.5 × 8.5 inches. Cut two cover panels about 5.75 × 8.75 inches, allowing a little space around the pages. If you want smaller pages, cut printer paper in half first, then fold each piece into pages about 4.25 × 5.5 inches.
Before cutting the cover, place one folded sample sheet inside and close it. The cover should hide the outer page edges without squeezing them. If it bends awkwardly, choose thinner cardboard or leave a little more room at the spine. A ready-made notebook also works: use its existing pages and skip creating a new binding entirely.
2. Make signatures (small page bundles)
A signature is a set of sheets folded in half and tucked inside one another. Start with three to five sheets per signature, which gives you 12 to 20 writable page sides. For your first attempt, make one signature; add a second only if the cover still closes easily. Mix printer paper with a thin paper-bag piece or a trimmed envelope, but keep thick cardboard out of the middle.
Line up the folds and tap the bundle gently on the table. Nest it in the cover, close the book, and check three things: no sheet sticks out past the cover, the folded spine sits comfortably, and the bundle opens without springing shut. Trim an overhanging edge with scissors, or remove a sheet if the fold feels crowded. Uneven page lengths are fine when intentional.
3. Pick a simple binding method
Choose a binding based on the tools you have and whether you want to move pages around. Test it with scrap paper first. These four beginner-friendly options do different jobs:
- Elastic band: Wrap a long elastic around the cover’s spine, then slide one folded signature underneath. Common slip: the band is too loose and pages slide out. Fix: use a snugger band or a thinner signature; check that the band holds the center fold without tearing it.
- Staples: Open a thin signature to its center fold and staple through the fold using a long-reach stapler, or staple a small booklet where your stapler can reach. Common slip: the stapler cannot reach or pierce the stack. Fix: remove sheets or choose elastic instead of forcing the tool. Press sharp staple ends flat.
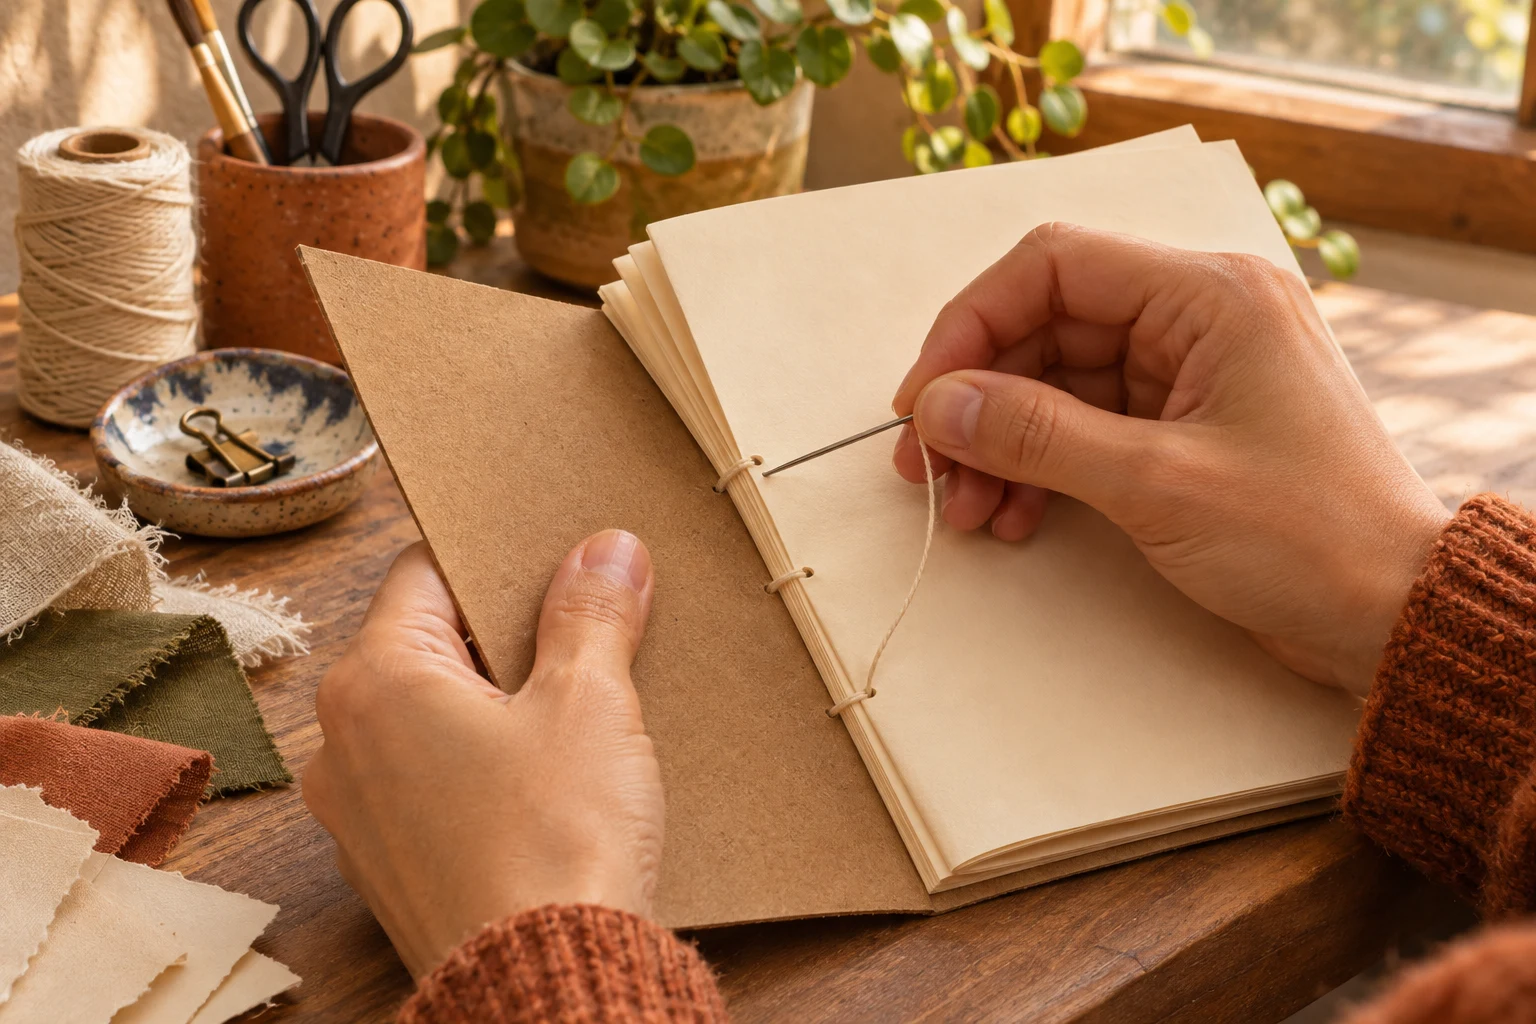
- Thread stitching: Mark three evenly spaced points along the center fold, make small holes, and sew through the signature and a flexible cover with sturdy thread; tie a secure knot. Common slip: the holes tear because the thread is pulled too tight. Fix: loosen the stitches and use smaller holes with a little space from the edge. Handle needles and awls carefully.
- Rings: Punch two matching holes along the left edge of separate, unfolded pages and the cover, then insert binder rings. Common slip: holes do not line up, making pages snag. Fix: mark every hole using the same template before punching, and leave enough margin so writing is not trapped near the rings.
Elastic is especially forgiving for a folded first booklet; rings are useful if you want to rearrange pages. Whichever you pick, open and close the journal several times before decorating it. The paper should turn freely without pulling against the binding.
4. Add pockets and tuck spots
Cut a rectangle from a clean envelope, paper bag, or folded scrap. Attach its left, right, and bottom edges to a page with a thin line of glue or short pieces of tape; leave the top open. That makes a pocket for a ticket, list, or tiny note. For a tuck spot, secure only one or two edges of a corner-shaped scrap so another paper can slide behind it.
Try slipping a small card into the pocket before the glue dries fully. If it catches, widen the opening or use a shallower pocket. Keep pockets away from the inner fold, where they can make the book hard to close. An envelope already has a pocket built in, so you can also attach its back and leave the flap free.
5. Make the first page without planning the whole book
Choose one clean scrap that reminds you of today: a tea tag, a shopping-list corner, or a piece of patterned packaging. Lay it on the first page, decide where a short sentence will fit, then glue or tape the scrap in place. Write the date and finish this line: “Today I noticed ______.” That is a complete page.
Do not fill every corner just because it is empty. Leave room for a later note, or stop after the first scrap. If the glue wrinkles the page, let it dry under a light book with a protective sheet between pages. Messy counts.
6. Keep the journal comfortable to use
Test your journal as you go: open it flat enough to write, flip several pages, and close the cover gently. A little unevenness is part of the look, but a cover that will not close is a sign to reduce bulk. Spread thicker scraps across different pages and use pockets for items you may want to remove.
Keep food wrappers clean and completely dry; avoid anything sticky, greasy, or likely to spoil. If a receipt or paper includes your address, payment details, or another person’s information, cut away or cover that part before adding it. A useful journal matters more than a perfectly stuffed one.
20 Junk Journal Page Ideas for Beginners
These ideas use ordinary paper and leave space for your words. Choose whichever feels easiest today; the numbers are for browsing, not a schedule.
Everyday Memories
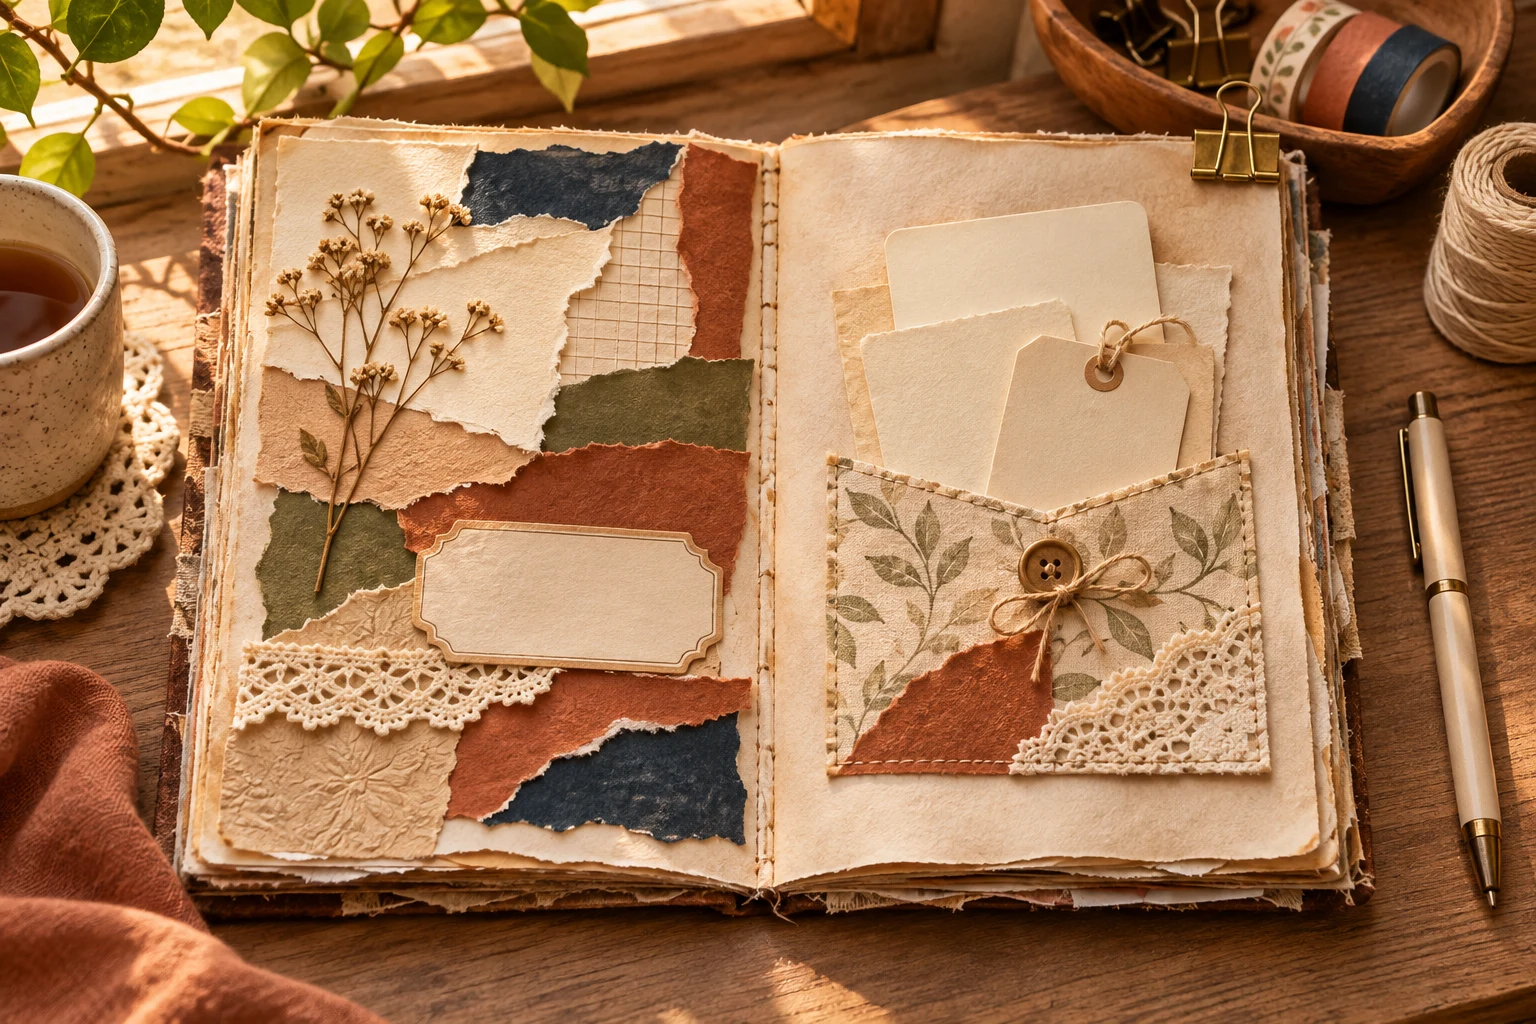
- A pocket of today’s paper: Find a clean receipt, tea tag, or grocery-list scrap. Fold a small paper rectangle, tape three edges to a page, and slip your find inside. Leave the top open so you can take it out later. Write beneath the pocket: “One ordinary thing I want to remember is…”
- A tiny outing map: Gather a bus ticket, store label, or plain scrap from a recent outing. Sketch your route with two or three landmarks, then tape the small paper beside it. Add an arrow pointing to your favorite stop. Finish with one line: “The best part of going out was…”
- A favorite snack wrapper: Save a clean, dry piece of a snack wrapper or its paper label. Flatten it under a book, trim any bulky seams, and attach just one edge so the paper lifts like a flap. Underneath, write: “I chose this snack because…” Skip sticky or oily packaging.
- Three small moments: Take three narrow strips from an old envelope or leftover printer paper. Write one moment on each strip, then tape them vertically or at slight angles. Add a date at the top and leave breathing room between the strips. End with: “The smallest moment that stayed with me was…”
- An envelope of notes: Reuse a small envelope or fold one from scrap paper. Attach its back to a page, leaving the flap accessible. Place two or three tiny notes inside: something heard, something learned, and something you hope to remember. On the envelope, write: “Open when I need a reminder of…”
Paper and Texture Play
- A torn-paper color page: Gather junk mail, old packaging, or magazine scraps in two colors you notice often. Tear five or six pieces by hand, arrange them from light to dark, and glue them with some paper showing through. Let the edges stay irregular. Write one line: “These colors remind me of…”
- A fabric corner: Find a small clean fabric offcut, old ribbon, or worn-shirt scrap. Trim it to fit one corner, put a thin strip of tape underneath, and secure it without covering the whole page. Leave a blank area for a note. Finish with: “This texture feels like…” Avoid heavy layers near the spine.
- A packaging collage: Collect two or three clean pieces of paper packaging, such as a tea box, paper sleeve, or mailing label without an address. Cut one into a rectangle and tear the others into smaller shapes. Layer them loosely, then glue from bottom to top. Write: “I see these everyday things differently because…”
- A window page: Use a sturdy paper scrap and fold it once. Draw a small square away from the fold, then carefully cut out the center with scissors while the paper is open. Tape patterned paper behind the opening and attach the piece as a flap. Add: “Through this little window I see…”
- A patterned border: Gather leftover strips from envelopes, gift wrap, or a paper bag. Cut or tear them into short pieces and repeat them along two page edges, leaving the center blank for writing. Alternate colors or shapes, but do not worry about perfect spacing. Finish in the middle: “Today has felt like…”
Words and Reflection
- A found-word poem: Find an old flyer, junk-mail page, or other paper you can cut safely. Choose six to ten interesting words, arrange them into a short phrase, and glue them down once the order feels right. Leave gaps wherever you like. Underneath, write: “I chose these words because…” Your poem does not need to rhyme.
- A note to your future self: Tear a small sheet from scrap notebook paper and write a note to yourself a month from now. Fold it into thirds, make a pocket from an envelope corner, and slide the note inside. Mark a future opening date on the pocket. Finish outside it: “I hope I remember…”
- A one-line gratitude page: Gather a plain paper scrap, a tiny label, or a strip from a brown paper bag. Glue it near the center of the page and draw a loose frame around it. Write one ordinary thing you appreciate, with no pressure to make a long list. Add: “Today I’m thankful for…”
- A currently-loving list: Cut four small rectangles from unused paper or the backs of clean envelopes. Write one current favorite on each: a song, food, book, or place. Stack them down the page with small gaps, and add the date. Finish with: “I want to remember this season because…”
- A quiet-day page: Choose soft-colored packaging, a plain paper bag, or an unprinted scrap. Tear one small shape and place it in a corner, leaving most of the page empty. Add the date and just a few words about your mood. Complete: “The quiet part of today felt…” Blank space belongs here.
Seasons and Little Collections
- A leaf-shape page: Pick up a fallen leaf outdoors, then use it as a tracing shape rather than gluing a damp leaf into the book. Trace it onto scrap paper, cut out the outline, and tape one edge down as a flap. Write beneath it: “One change I noticed outside was…”
- A holiday color collage: Save clean wrapping-paper scraps, a paper napkin design, or a gift-bag offcut from a celebration. Choose two or three colors, tear small pieces, and overlap them across one corner of the page. Leave an open space for words. Finish with: “These colors remind me of…” Any holiday or celebration works.
- A gift-tag memory: Find a used gift tag, a ribbon end, or a blank tag cut from cardboard packaging. Attach it with tape or thread so it can lift from the page. Note the occasion and a detail about the moment, not just the gift. Write: “What made this exchange meaningful was…”
- A mini collection pocket: Collect three small flat paper pieces, such as ticket stubs, stickers, or label cutouts without personal details. Fold a scrap into a pocket and glue three edges to the page. Slide your collection inside and title the pocket with today’s date. Add: “These little pieces belong together because…”
- A month-in-scraps page: Set aside tiny clean paper pieces through the month: a ticket corner, food label, or packaging pattern. At month’s end, choose three to five and arrange them in a loose line with dates beneath. Leave room for one final sentence. Write: “If this month had a paper trail, it would say…”
If you like preserving small daily details in a more structured way, try a tracking journal alongside your junk journal. A tracker can hold dates and checkmarks while this book holds the scraps and stories.
What Junk Journal Themes Can You Try?
Begin with a season, place, or familiar routine you can collect scraps from without shopping. A theme simply helps you choose what to save and what to write; it does not mean every page needs matching colors or decorations. These five starting points work with paper you may already have.
Fall junk journal pages: Save a paper coffee sleeve, a ticket from an autumn outing, an orange or brown food label, or a scrap of kraft paper. Trace a fallen leaf on the page instead of gluing in a wet one, then layer a few warm colors around it. Write about a change in the air, a favorite fall sound, or one ordinary afternoon that felt different. A fall page can be about your neighborhood rather than a picture-perfect autumn scene.
Thanksgiving junk journal pages: Keep a clean menu scrap, a small piece of paper from meal preparation, or a handwritten recipe note. Make a little pocket for three gratitude slips, even if your day is quiet or your celebration looks different from someone else’s. Write about a person, a comforting food, or something helpful you noticed. In the US and Canada, Thanksgiving falls on different dates; simply use the day that belongs to your own experience.
Christmas junk journal pages: Reuse wrapping-paper offcuts, the blank side of a card, a gift tag, or a short piece of clean ribbon. Make a small collage and add a pocket for a wish, memory, or kind message. Write about a favorite moment, a scent from the kitchen, or a tradition you are keeping or changing. You do not need expensive decorations or a busy holiday to fill a meaningful page. If you celebrate something else, adapt the same idea to that occasion.
A favorite bookstore theme: Save a bookmark, receipt with private details removed, paper bag strip, or note about a title that caught your eye. Arrange the pieces around a handwritten mini reading list. Write: “The book I wanted to take home was…” You can create this page even after a visit when you bought nothing.
A weekend walk theme: Collect a safe, dry paper memento such as a café napkin corner, a flyer, or a transit ticket. Sketch three landmarks from your walk and tuck the paper into a pocket. Write about the weather, a sound, and one small detail you almost missed. No souvenir is needed: a drawn map counts.
What Are Common Junk Journal Mistakes?
Most early mistakes come from trying to make a first junk journal look finished before you have used it. You can avoid extra expense, awkward bindings, and the feeling that every page needs to impress someone by starting small. Here are seven common roadblocks and easier ways through them.
| Mistake | Why it gets in the way | Try this instead |
|---|---|---|
| Trying to fill every page | Crowded layouts leave little space for writing and make the book bulky | Add one scrap and one sentence; leave the rest blank |
| Buying everything first | Shopping delays the simple act of making a page | Start with paper, scissors, glue or tape, and household scraps |
| Waiting for the perfect journal | Choosing a cover becomes a reason not to begin | Fold one small bundle and use a cereal-box cover |
| Gluing everything flat | Notes become hard to read or remove, and layers can wrinkle | Tape a flap or add a pocket for movable pieces |
| Copying someone else’s style exactly | It can make your own scraps feel like the wrong materials | Borrow one technique, then use your own colors and memories |
| Keeping the journal too tidy | Fear of smudges or uneven edges can stop you experimenting | Leave one torn edge showing and write in your usual handwriting |
| Giving up after a messy page | One awkward collage starts to feel like the whole project failed | Turn the page, add a date, and make the next one simpler |
A page that wrinkles, a pocket that sits crooked, or a collage you do not love is not wasted work. It teaches you what feels comfortable in your hands. If a page becomes too bulky, move a piece into a pocket or start fresh on the next sheet; you do not have to repair every mark. For a more structured way to record plans and dates, see Bullet Journal for Beginners. Keep whichever approach invites you back. Messy counts.
Where Can You Get the Free Junk Journal Starter Pack?
The Junk Journal Starter Pack is available in The Small Pages Library. The library is open access, and no email signup is needed. The pack contains three sheets in A4 and US Letter sizes, for six PDF files total.
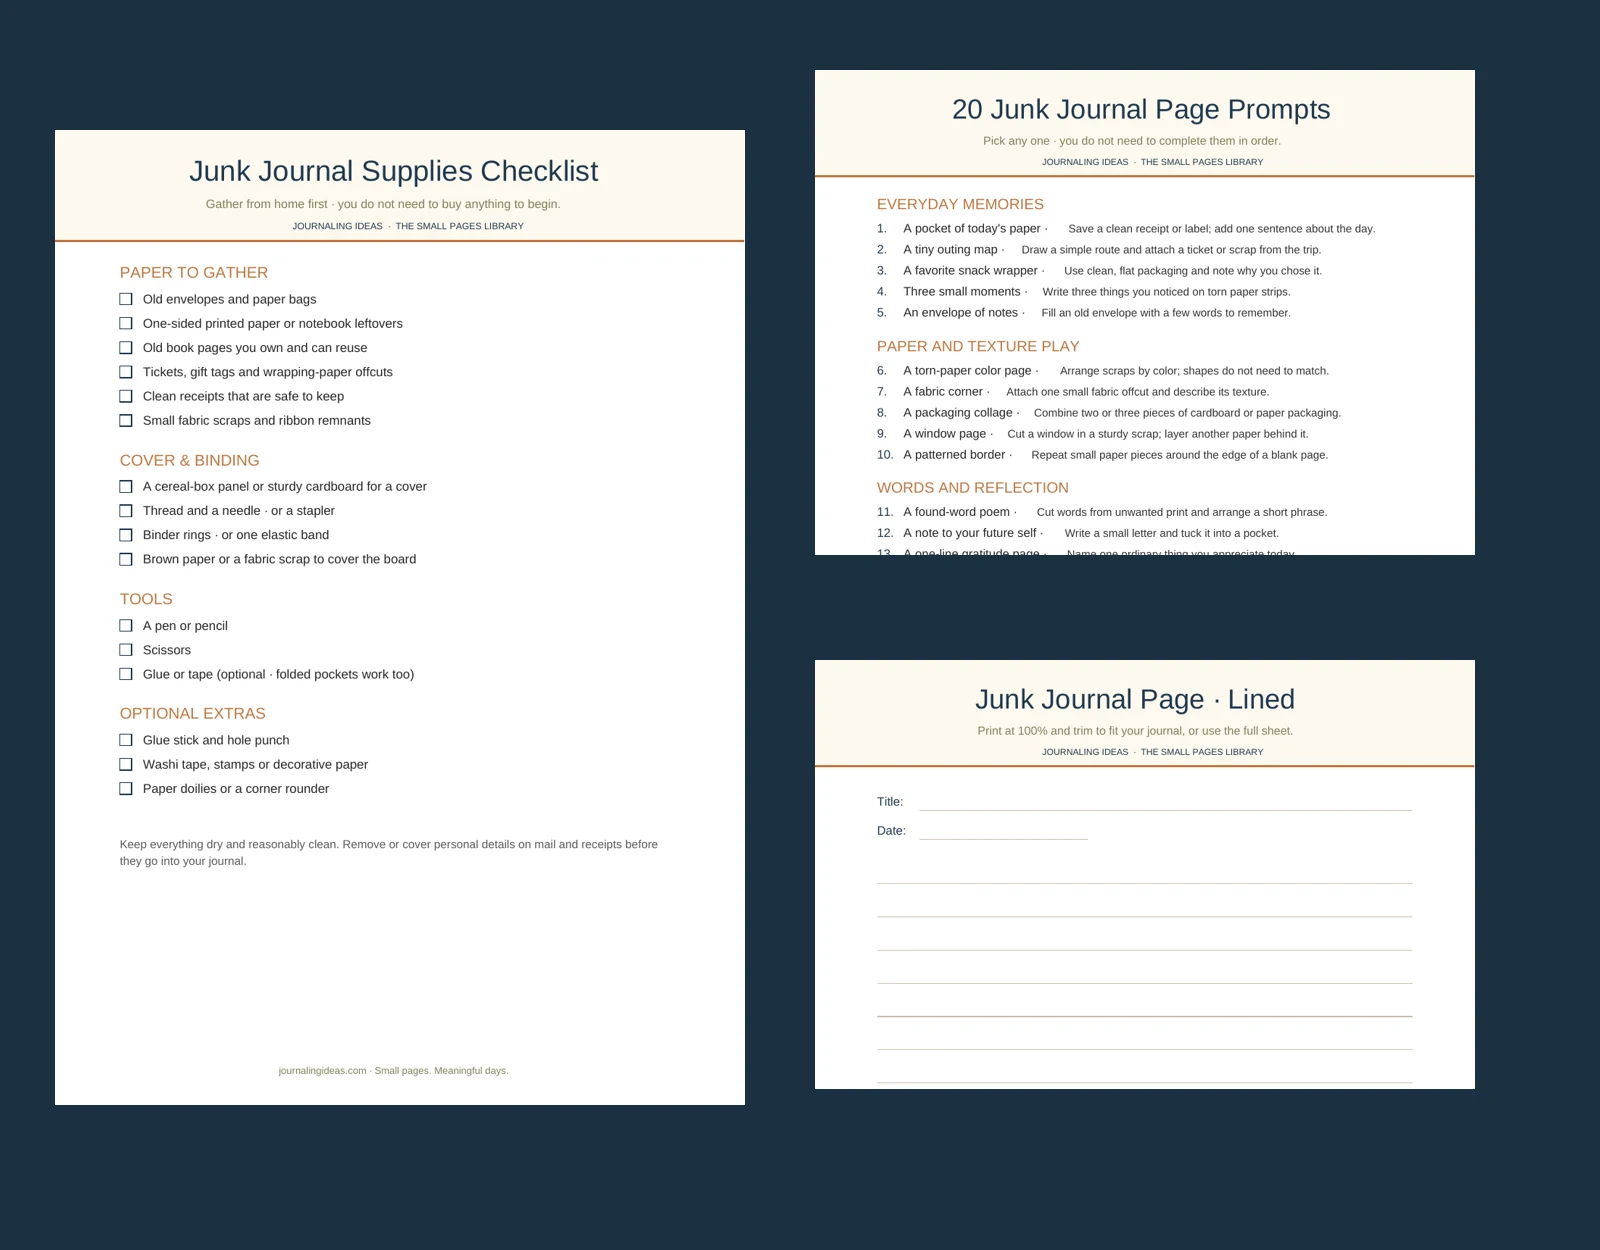
- Sheet 1 — Junk Journal Supplies Checklist: household items to gather before you begin.
- Sheet 2 — 20 Junk Journal Page Prompts: the same 20 ideas from this guide in a printable list.
- Sheet 3 — Two Printable Page Templates: one lined page and one collage grid page, both provided on the third sheet.
Choose the A4 files if that paper fits your printer, or US Letter if you use standard 8.5 × 11-inch paper. Print the sheets you want at actual size (100%) when possible; check the printer preview before printing. You can also use the ideas without printing anything.
Open The Small Pages Library and find the Junk Journal Starter Pack
How Can You Start Your First Junk Journal Page Today?
Start with one piece of paper and one small memory. Fold a few sheets, use a cover you already have, and tuck an envelope inside. You can add a date, a short list, or nothing but a collage. There is no need to finish the book in one sitting or make every page match.
Save this guide for a day when you have a few minutes and a handful of scraps. The pages can grow with you, one ordinary moment at a time.
Small pages. Meaningful days.
Junk Journal FAQs
Can I make a junk journal without buying supplies?
Yes. Reuse household paper, a cardboard cover, and a simple binding such as an elastic band or staples. Optional craft supplies are not necessary.
What is the easiest junk journal binding for beginners?
An elastic band around a cover and one folded signature is a simple, removable option. Staples also work for thin booklets.
What can I put in a junk journal?
Try clean packaging, tickets, old envelopes, paper scraps, fabric offcuts, short notes, sketches, and small photographs. Avoid damp materials and exposed personal details.
Do junk journal pages have to match?
No. Different colors, sizes, textures, and unfinished pages are all welcome. A single scrap and a sentence can be enough.
Can I use a regular notebook as a junk journal?
Yes. Glue or tuck scraps into an existing notebook if you would rather skip making a cover and binding pages.
Is the Junk Journal Starter Pack free and available without signup?
Yes. The Junk Journal Starter Pack is free in The Small Pages Library, and the library is open access — no email signup is needed. The pack includes three sheets, each in A4 and US Letter sizes (six PDF files).